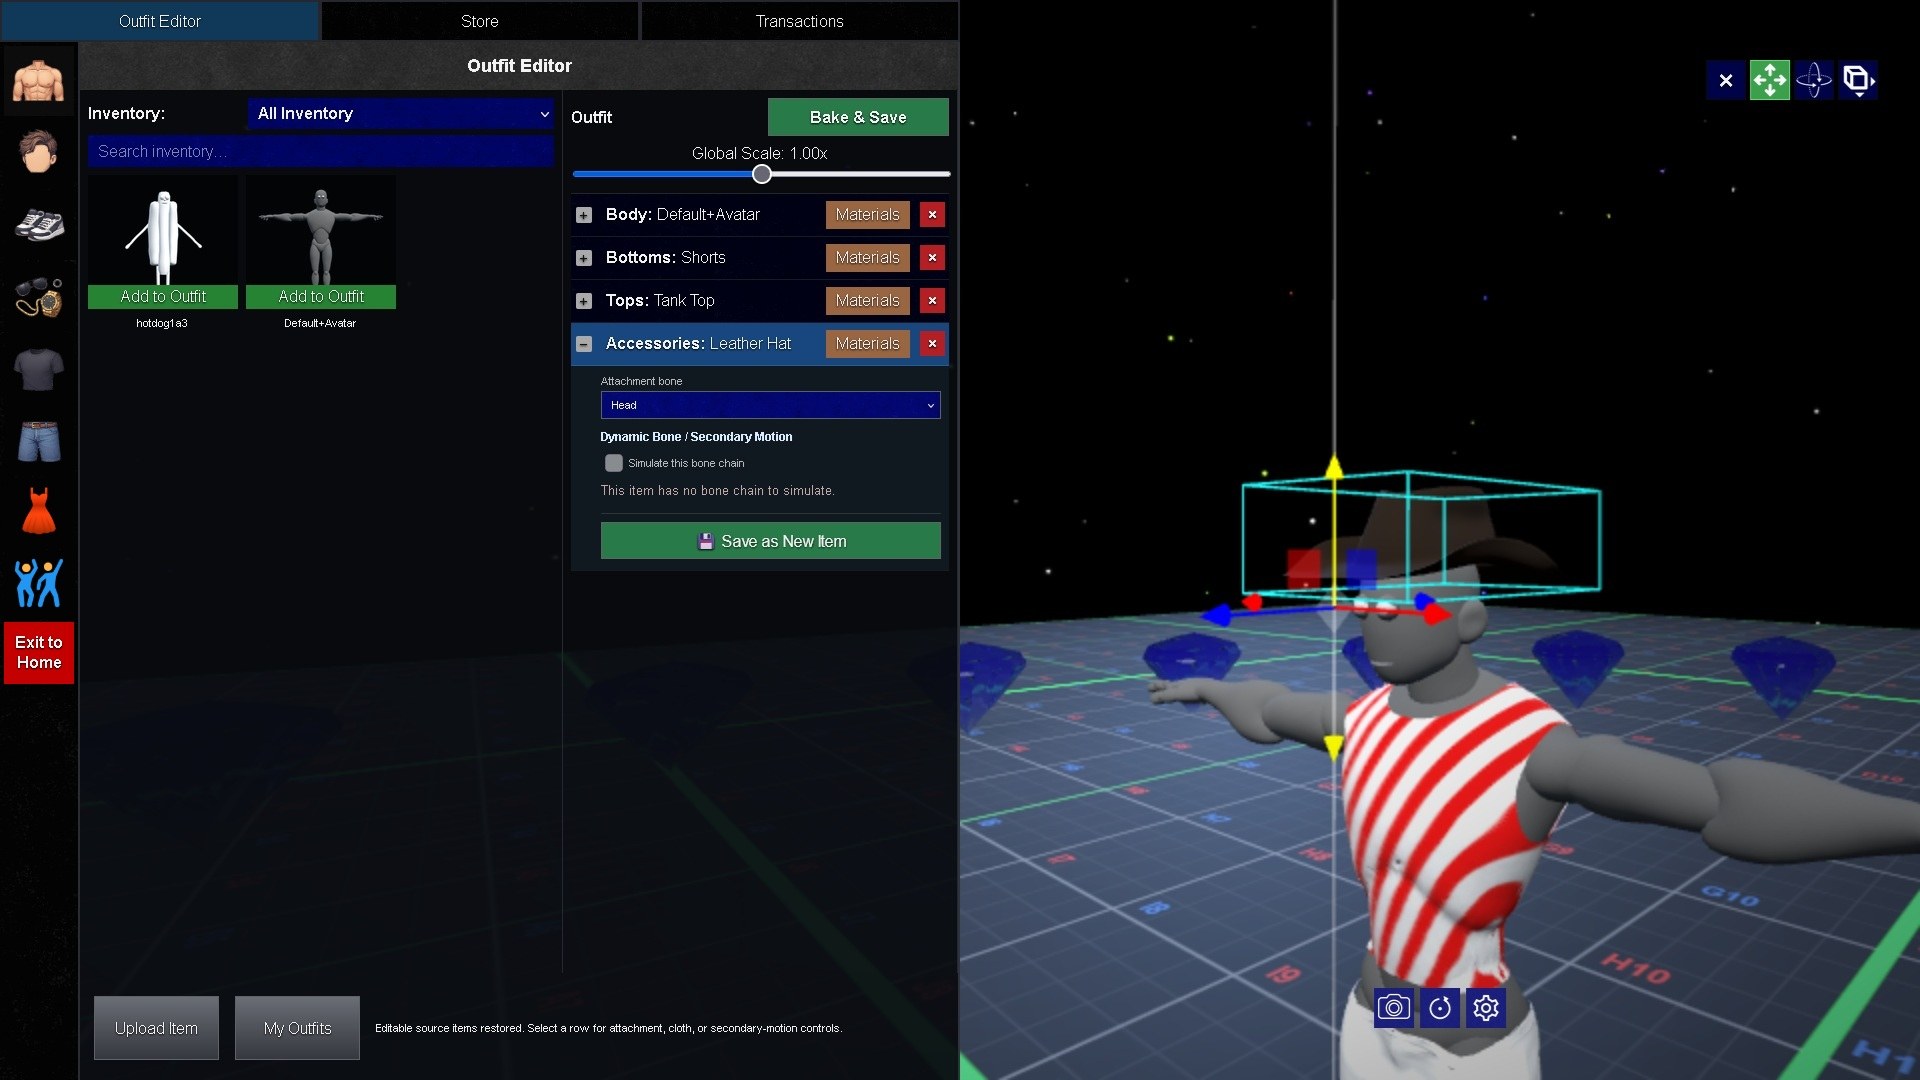
Create outfits with owned items, store items, clothing, accessories, and uploaded avatar content.
Wiki / Avatar Editor
Open The Avatar Editor
Sign in to the client.
Open Avatar Editor from the dashboard, profile, or avatar menu.
Wait for your current avatar or default avatar to load in the preview.
Use the item panels to browse clothing, accessories, bodies, hair, and other categories.
Upload Bounds And Skeleton Template
Custom avatars and wearable items need to be prepared against the upload requirements before they are accepted by Avatar Editor.
Skeleton
Rig avatars and clothing to the Skeleton Template. Accessories can be unrigged, or they can use their own skeleton for Dynamic Bone motion.
AABB Box
Open the gear settings icon in Avatar Editor and enable the AABB box preview. Avatars, clothing, and accessories must fit inside that box before upload.
Full Guide
See the Uploads guide for item-type rules, skeleton notes, and the upload flow.
Starter Item Source Files
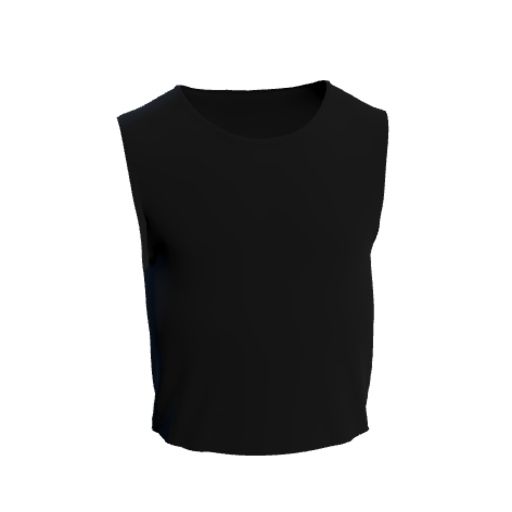
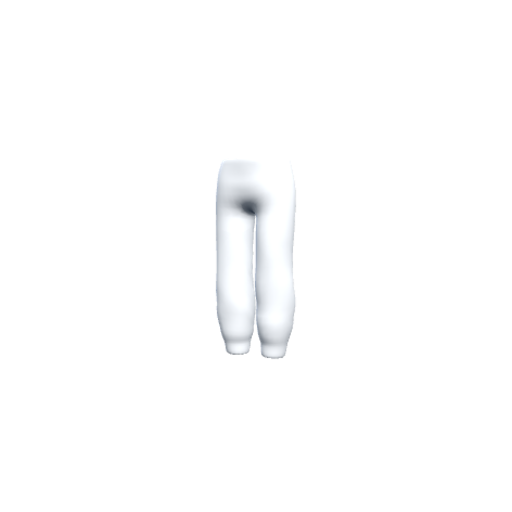
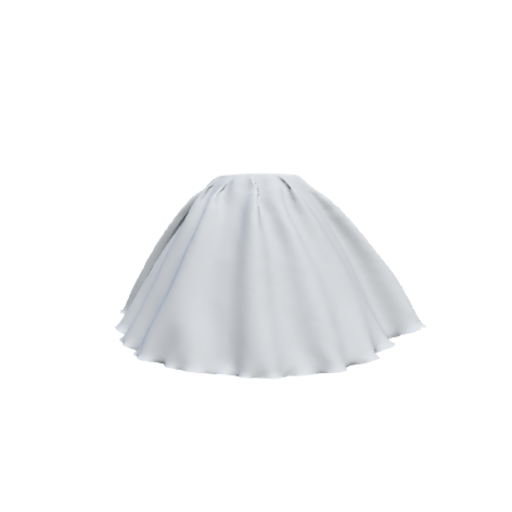
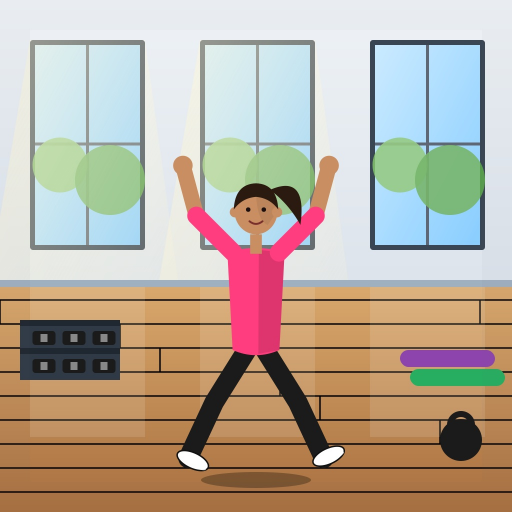
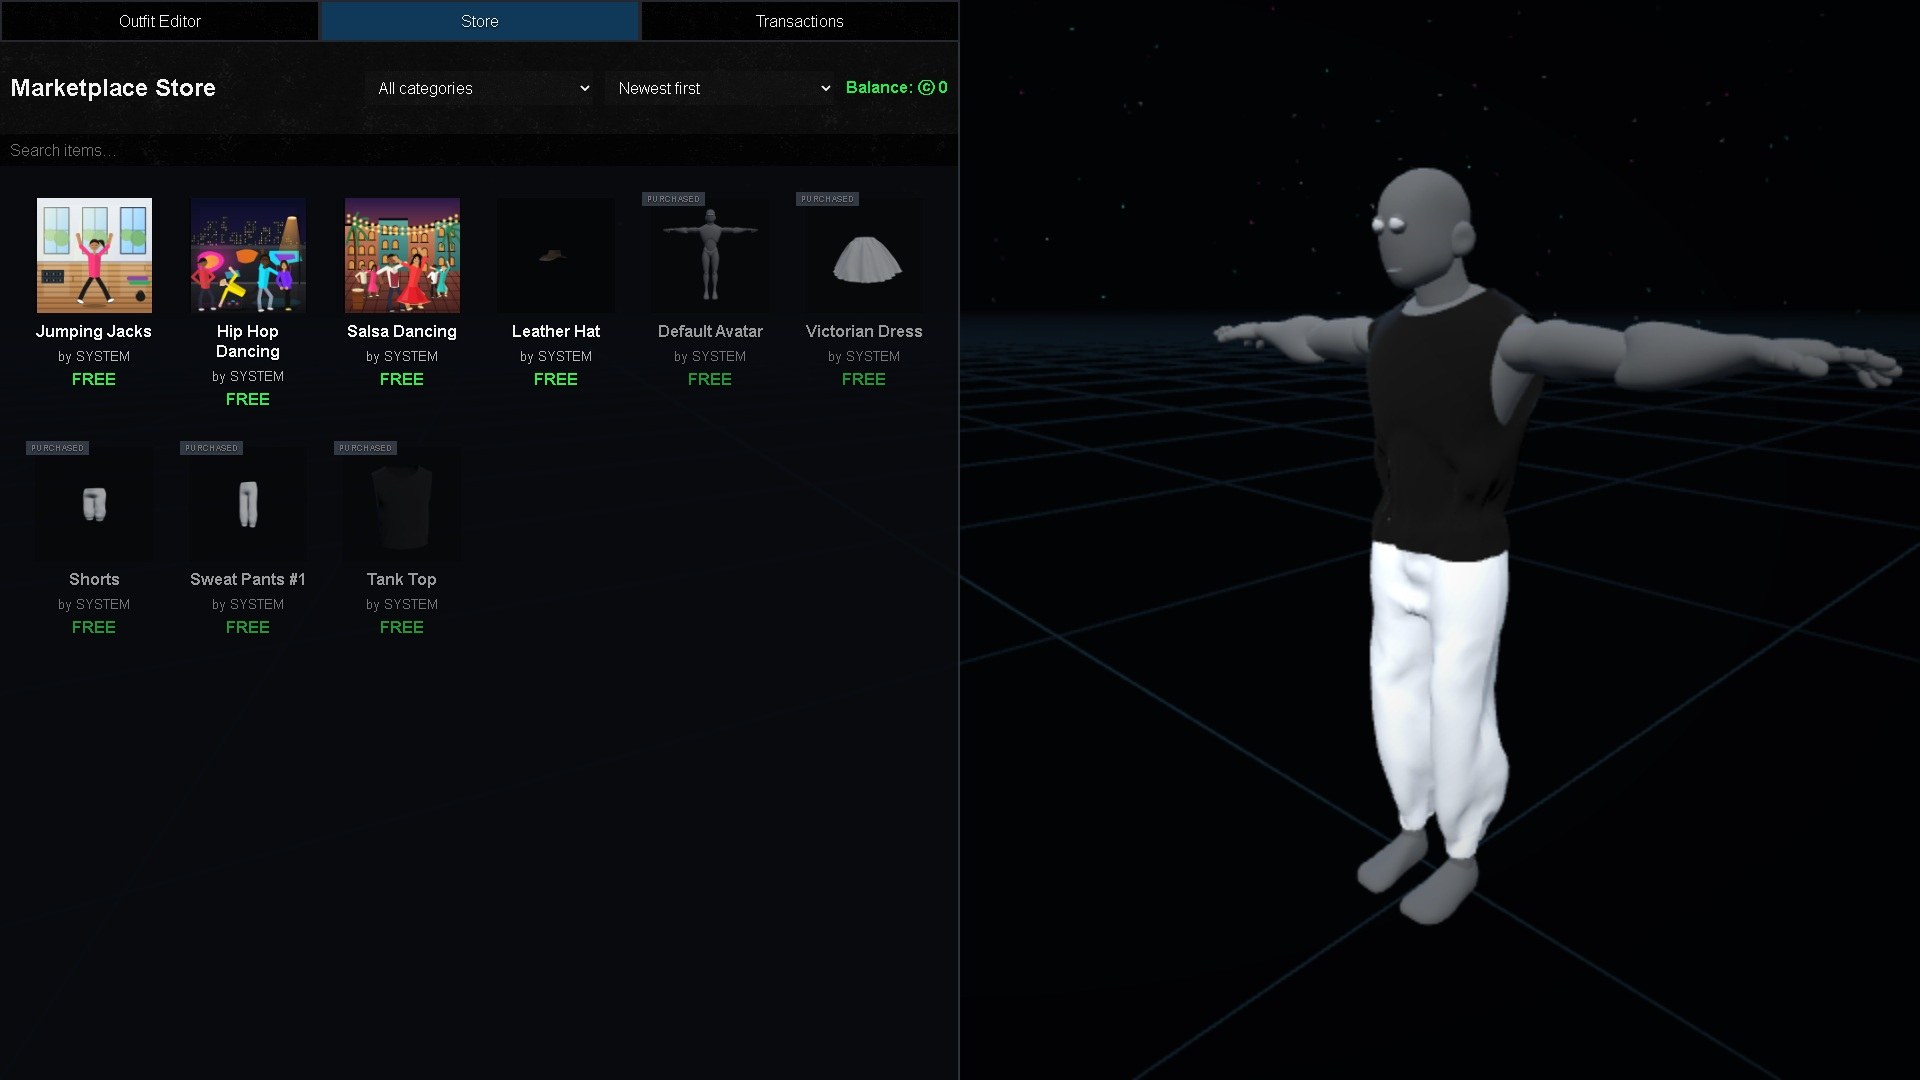
Every new member of TestPlatform5 receives these free starter items. Download their source .fbx files to see how a working item is built: the rig, the weighting to the skeleton above, the scale and the materials. Use them as a starting point for your own clothing, accessories and emotes, then upload your versions in Avatar Editor.
The clothing is rigged to the Skeleton Template, the hat is an unrigged accessory, and Jumping Jacks is an emote animation on the same skeleton.
Create An Outfit With Store Items
Open the Store or item browser from inside Avatar Editor.
Select a category such as clothing, hair, shoes, or accessories.
Preview an item on your avatar.
If the item is not owned, follow the purchase or claim flow shown by the Store.
Apply owned items to the outfit.
Adjust position, rotation, color, material, or fit options if the item supports them.
Save the outfit with a clear name.
Save And Use The Outfit
After saving, choose the outfit as your active look. Some worlds may refresh your avatar immediately; others may require rejoining the world to show the new outfit to everyone.
Preview
Shows how the outfit looks before saving.
Save Outfit
Stores the current combination of avatar items as a reusable look.
Set Active
Makes the saved outfit your current avatar appearance.